

How To Make Your Home Look More Expensive
The holy grail of home design? How to make your home look expensive without spending a fortune?
I’ve spent years mastering ways to how to make your home look elegant for less and boosting clients decorating pots. Cost-effective home design (that looks anything but) is about knowing clever hacks knowing where to spend and where to save.
Today I wanted to share the many inexpensive ways to give the perception of luxury, a few things that don’t help your home feel luxurious (no judgement here), and some little things that go a long way!

My Number #1 Tip To Make How To Make Your Home Look More Expensive? Scale Up.
Your eyes don’t lie. They love mathematical problems to solve, and your eyes and brain jump in to want to work things out. You will know when a picture looks lost on a gallery wall, when it’s too small and just not sitting proportionally accurate with its surroundings, and it makes you feel a little uneasy and your OCD kicks in a little.
Well, my friend, this is an interior design principle of proportion and scale in action.
One of the biggest tips I can give to give for how to make your space look more expensive, go big sister. If you’re unsure of the size of something, scale it up. Scaling up ads adds confidence to a scheme. Impact and a strong statement are how to make your house look expensive on a budget.
If your room feels a little cramped to begin with, and you like to create the perception of roominess, I have an entire post dedicated to faking the square footage, 15 simple ways to make your room look bigger.
Let’s jump in. What makes a house feel luxurious? You don’t have to splash the cash! Here are 23 ways to make your home look expensive on a budget.


4 Window Treatments Hacks To Make Your Home Look More Expensive
1 – Double Up Your Window Treatments
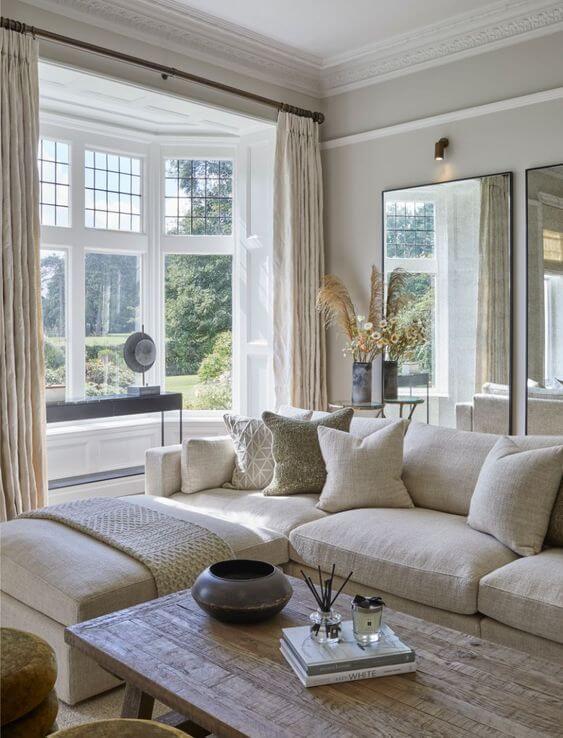
Double up your window treatments (increase the width by 1.5, 2 or 2.5 x the width of the window), without the need to go custom. You could head to Ikea, but double up and use two panels per stack back, and this will increase the curtains volume and make your home look expensive on a budget.
2 – Hang them wide + High!
Hanging your curtains high increases the perception of how high the ceiling is, and positioning them broader than the window will increase the perception of width, making your space look and feel bigger and more impactful.
3 – Go Full Length
Full-length curtains make a space feel more high-end, polished and luxurious. Puddling curtains on the floor can also be an elegant touch. We usually add 5 inches max to the finished length, but it depends on the desired look, it could be a little less.
4 – Layer Up
Layer your window treatments. I love layering up floor-to-ceiling window treatments. Here are the steps to create a layered look:
- Recess fit a roller blind so that it’s hidden.
- Purchase a double pole, I love Bradley poles for effortless chic.
- Hang two Ikea panels on one pole for your main curtains
- Hang a wide width non-directional voile (say up to 280 wide that you can run horizontally without the need for joins i.e. railroaded)
- Et voila, a high-end elegant layered look without the custom layered-up price tag

Credit: Harper Wilde

Credit: Katherine Pooley
1 – A Little High End Goes A Long Way
Think marble, antique gold, leather, crystal, or solid wood… they instantly elevate a space and give that quiet luxury feel without screaming for attention. You don’t need loads of it. A single marble shelf, brass handles, or crystal vase can make your room feel more expensive than it actually is. It’s all about the edit.

2 – Voluptuous Velvet
Use luxurious velvets for upholstery and soft furnishings. Velvet is known for its smooth texture and elegant look. Velvets made with synthetic materials (instead of natural silk or cotton) are generally relatively inexpensive and more durable.
Many companies are introducing intelligent velvets designed to resist liquids, crushes, and marks, which can often adversely affect shine and lustre. The design style is essential here. I prefer flat velvets over crushed velvets for timeless elegance. Classic never dates, whereas trends do. Crushed velvet is a trend, not a classic.
3 – Mix Up The Materials
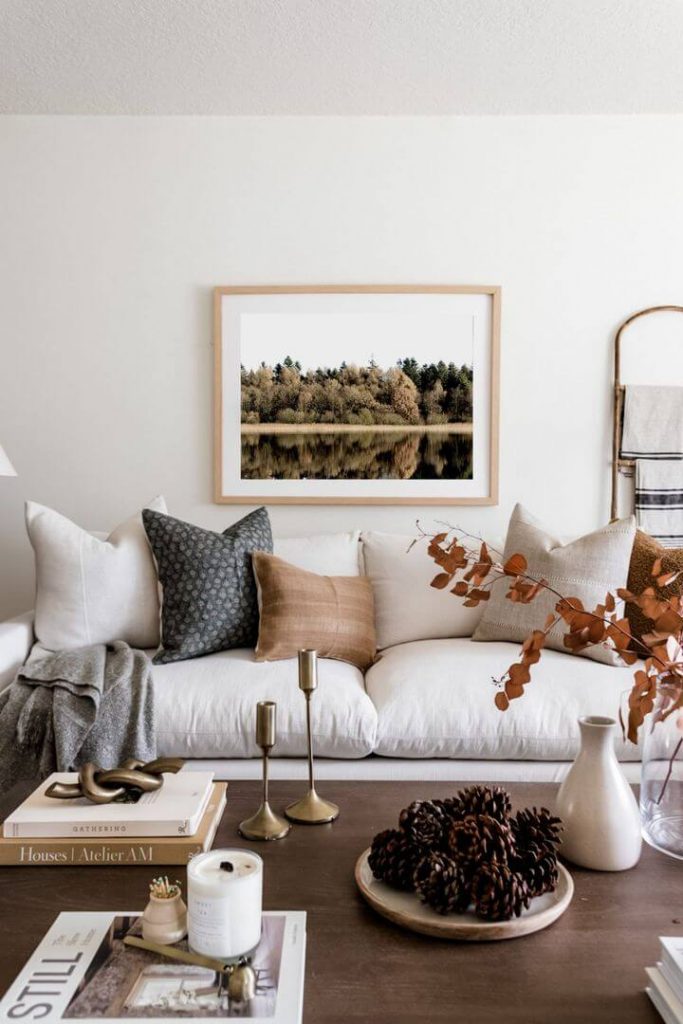
Whilst I’m on the subject of fabrics, an easy way to add an extra dimension to your space is to think about mixing up your textiles. Using the same materials for your headboard, curtains and occasional seating will make your space feel flat and uninteresting. Struggling with texture? Click here to get 7 ways to add more texture to your home.
CREDIT: Collection Prints

CREDIT: Halfway Wholeistic
4 – Definitely Down
Always go for feather or down-filled cushion inners over polyester. They’re easier to style, hold their shape beautifully, and won’t go flat after one Sunday sofa session. Plus, if you’re a fan of the ‘karate chop’ look… you know, that satisfying dip in the middle… feather inners are your best friend.
5 – Go Vintage
Invest in a vintage rug, it’ll do more for your space than a dozen cushions.
There’s something about a timeworn, character-filled rug that instantly adds soul, elegance, and a sense of history to a room. It feels thoughtful. Collected. Expensive. Compared to modern, graphic designs, a vintage piece brings a sense of understated luxury, like it’s always been there.
And that’s the secret to truly chic spaces: they evolve, they tell stories… and they don’t shout for attention.


6 – Classic + Timeless
Stick to classic patterns — like a stunning, geometric herringbone. Timeless by nature and effortlessly elegant, herringbone is a design detail that never goes out of style. You’ll see it in parquet floors, LVT, and even laid into splashbacks and tiling, and it always brings a sense of craftsmanship and considered design..
CREDIT: Lulu & Georgia
CREDIT: Napoleon DiStefano
7 – A Neutral Base
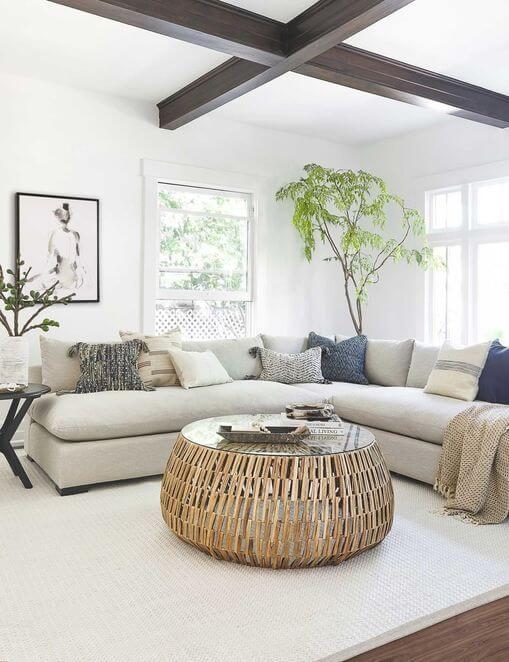
Start with a neutral base — it’s a classic for a reason. A well-balanced neutral palette is classy, calming, and gives your other design choices space to stand out. When the base is soft and simple, every texture, colour, and material gets more impact. Less really can be more when you know how to work with it.
To stop a neutral scheme feeling flat or bland, it’s all about layering. Mix different textures… think soft linen, warm woods, a bit of metal or stone. Use contrast where you can, even if it’s subtle. It doesn’t have to be busy to feel interesting, just considered.
8 – Muted Maven
Muted colour combinations feel more subtle, more considered, and far less shouty than loud, saturated tones. And let’s be honest… subtle almost always feels more sophisticated than shouty. It’s the difference between a space you want to live in, and one that makes your eye twitch.
My favourite paint brands are Little Greene Paint Company and Farrow and Ball Paint colours. Look don’t come at me, this isn’t paint snobbery, their colours are undeniably good. The depth, the tones, the way they change with the light.
If you’re looking for the perfect grey try Cornforth White Farrow and Ball, or for deeper darker shades look at Farrow and Ball Hague Blue or Farrow and Ball Railings.
And if you’re wondering whether designer paints are actually worth the spend, I’ve got a blog post that breaks it all down for you, click here to have a read about Is Farrow & Ball paint is worth the money…just facts.
Know what you want the room to feel like, just not how to get there?
The HomeEnvy Blueprint walks you through designing a room you’ll love, in the right order, so you’re not guessing your way through a thousand Pinterest pins. It’s free.
Send me the Blueprint9 – Match, don’t contrast
Rather than making everything pop against your walls, try blending certain elements into them. Painting things like bookcases, radiators, or skirting boards the same colour as your walls can make them feel built-in and bespoke… like they were always meant to be there.
It’s a simple trick that gives your space a more custom, high-end feel… without the high-end price tag.
When there’s no abrupt white line where your skirting or cornice starts, the eye doesn’t stop, it keeps moving. That subtle continuation makes a room feel bigger, calmer, and more considered.
My favourite made-to-measure furniture company without the custom price tag is Jali.co.uk

10 – Work The Walls
And while we’re talking about how the eye moves… try making it travel up.
A great way to make any space feel more expensive is to draw the eye up the wall. That vertical movement creates the illusion of height… and height, even if it’s only visual, adds to the feeling of space and elegance.
Think wall art, hanging textiles, macrame, tall mirrors, or even plants with a bit of drape. It’s less about what you use, and more about placing things thoughtfully so the room feels layered, lifted, and finished.
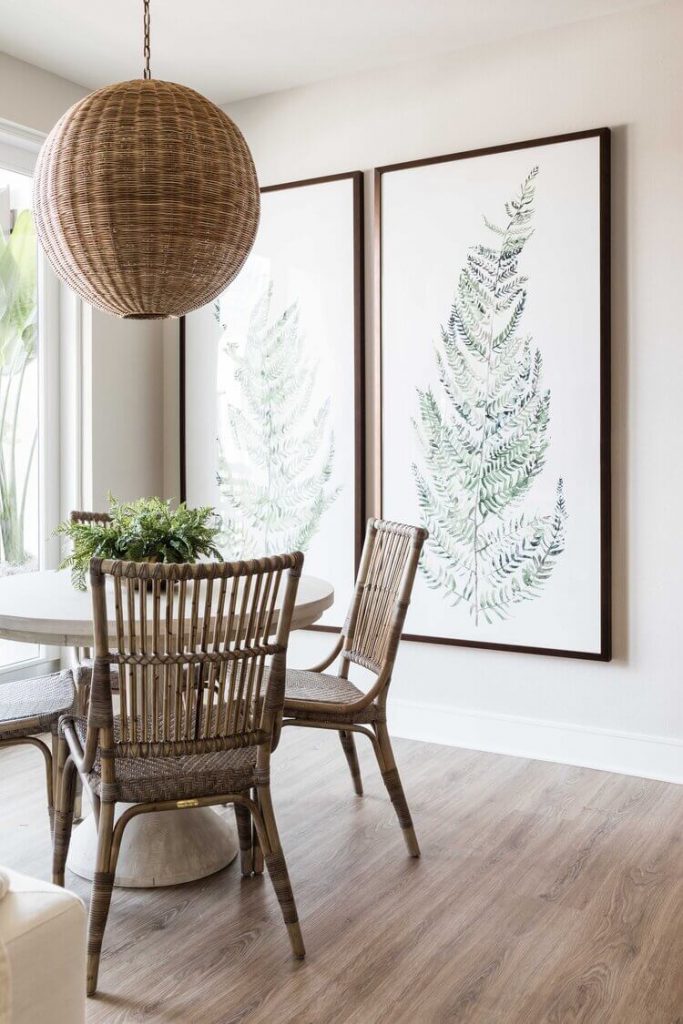
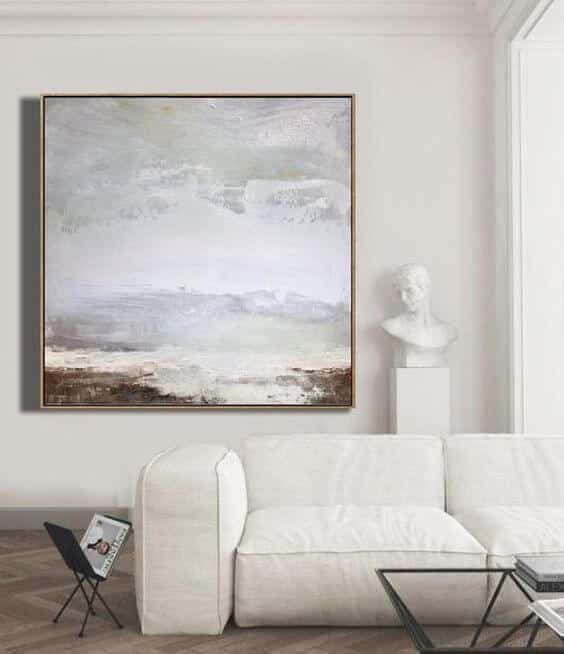
11 – Make Your Home Look More Expensive By Supersizing
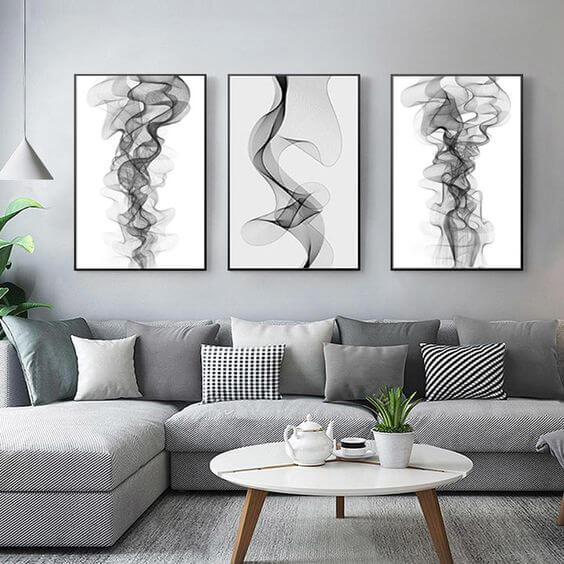
On the subject of art… if in doubt, go big. Supersizing your artwork (or even just the frame and mount) instantly makes it feel more important, more intentional, and frankly, more expensive.
Small art can get lost and feel like an afterthought. But one large-scale piece, or a statement frame that gives breathing room to a smaller print, brings that gallery feel home.
It doesn’t have to cost a fortune, either. Frame a favourite fabric, blow up a photo you love, or mount a charity shop find in an oversized frame. It’s all in the presentation.


12 – How To Make Your Home Look Expensive With Decorative Moulding
Add cornice and decorative moulding to a space is instant grandeur and make a room look more luxurious. If plaster cornice and moulding is blowing the budget, think about Orac® Lightweight, Polyurethane cornice and decorative moulding, we love WM Boyle. (and Home Design Vault members can grab trade savings here and at hundreds of other suppliers).


13 – Make Your Home Look More Expensive With Perfect Panelling
Want to take your walls up a notch? Add moulding or decorative trim. Floor-to-ceiling panelling, picture moulding, or even a simple bit of beading can completely change the feel of a room. It adds depth, texture, and a real sense of intentionality… like the space was designed, not just decorated.
It’s one of those upgrades that looks expensive but can be done on a budget with a bit of planning (and a steady hand). Whether you go full-height panels or just frame out a few sections of wall, it adds instant polish.
This one’s not just a passing trend either, it’s a classic design detail having a well-deserved comeback.

14 – Seductive Scent
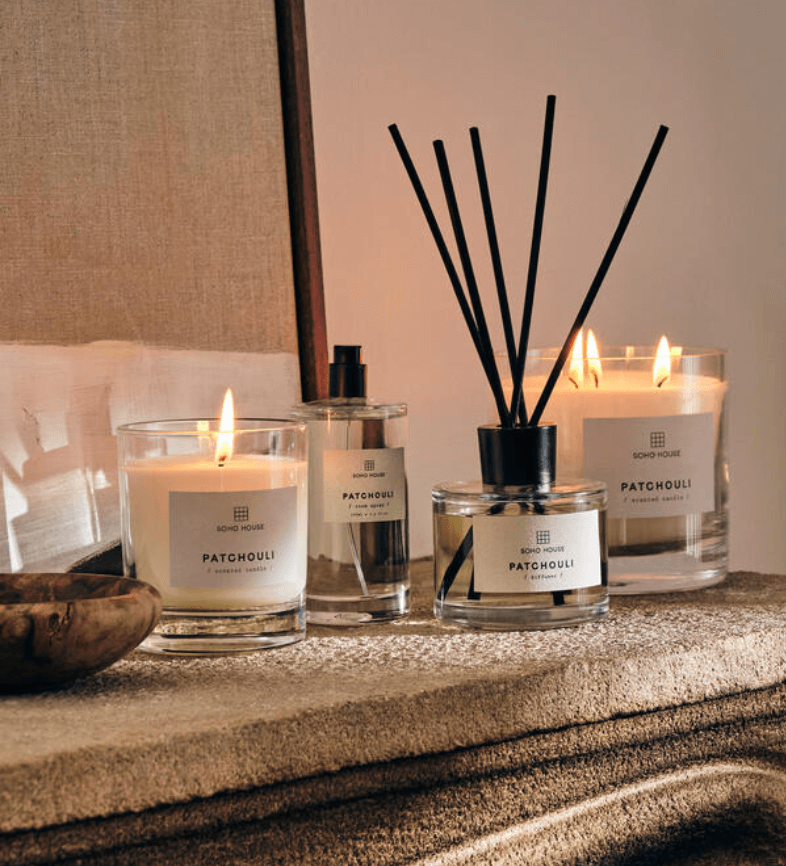
Don’t forget your senses, especially scent. A room doesn’t just look expensive, it feels it. And scent plays a huge part in that. The right fragrance can shift the entire mood of a space… calming, grounding, uplifting, or transporting you somewhere entirely different.
Candles, diffusers, essential oils, or even a beautifully scented room spray can elevate the atmosphere instantly. Choose something subtle and layered, not overpowering. It’s the quiet detail most people don’t think about… but it makes all the difference.


15 – Go Green
Add flowers and greenery — always. No room ever feels truly finished without something living (or at least looking like it is). Flowers, greenery, branches, even a few snipped stems… they bring life, texture, and that soft, natural touch that instantly lifts a space.
Want to stretch the budget? Take a single bouquet and separate it into a few small vases. Pop them on your bedside table, kitchen shelf, bathroom windowsill, you’ll feel the difference everywhere. Slim-neck vases work wonders here, making a little go a long way.
Thrifting? Go one step further and head into your garden. Foliage, branches, even herbs can add beautiful texture without spending a thing.


16 – Make Your Home Look More Expensive Layer Up Your Lighting
Lighting can make or break a room — and relying on one sad ceiling light just won’t cut it. You want layers. Atmosphere. Mood. A bit of drama, even.
Every room needs a mix of ambient (your general glow), task (focused light for doing stuff), and accent (the pretty, finishing touches).
A good rule of thumb? Aim for 5–7 light sources per room. It sounds like a lot, but once you start counting…ceiling light, floor lamp, table lamp, recessed lighting, cabinet light, under counter light, wall light, candle, picture light…you’ll get there.
And it doesn’t have to cost the earth. Upcycle old lamps, swap out harsh bulbs for warm ones, or pick up affordable plug-in wall lights to fake a built-in look.
Lighting’s one of the easiest ways to dial up the mood and instantly make your home feel more considered — and more expensive. Click here for 7 of our favourites.
17 – Clear The Clutter
If you want your home to feel calm, elevated, and effortlessly stylish, you need to edit. That doesn’t mean stripping it bare or living like a minimalist monk. It just means being intentional.
Fewer, better pieces always look more elegant than lots of bits and bobs. A handful of quality, considered items will breathe space and sophistication into your room in a way no matching set of knick-knacks ever will.
Struggling with your clear the clutter crusade? You’re not alone. I’ve got a guide to help you ditch the overwhelm and finally sort the mess, without the shame. Click here to let me help with my free printable for clearing the clutter.

CREDIT: Graham & Brown
18 – Fake With Faux
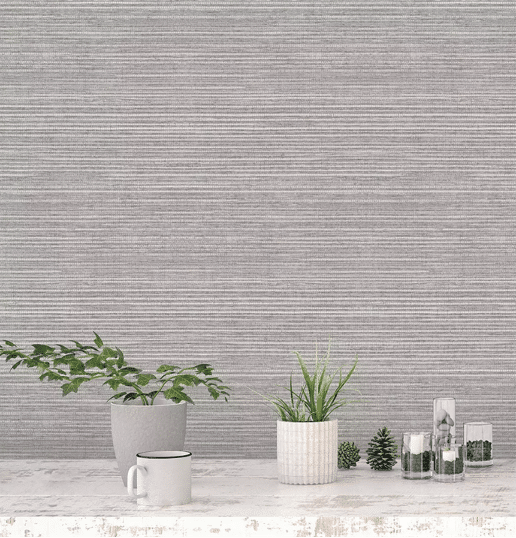
Want to elevate your walls? Think texture over pattern. Natural wallcoverings like grasscloth, sisal, jute, and silk add depth, softness, and a beautifully layered finish to any room. They don’t shout for attention, but they do make a space feel more considered, more expensive, and more grown-up.
These materials catch the light differently throughout the day, adding subtle movement and richness that plain paint just can’t match.


Creating a home that feels expensive doesn’t have to mean big budgets or flashy renovations. It’s about the details. The intention. The quiet confidence in your choices.
From layered lighting and natural textures to feather-filled cushions and a killer paint colour, these small shifts can have a huge impact. They tell a story… your story… in every corner of your home.

Miriam
Dearest Natalie Thank you so much for your helpful tips- They are so insightful and will take me to the next level of interior.
Miriam
Natalie
MiriamThank you Miriam, I’m grateful to support you!